


In this tutorial, I’ll show you how to disable comments on a SharePoint modern page using Power Automate. This is extremely handy when you are creating pages based on a template using a flow. Even if you have already disabled comments on the template page, it will not stay disabled on the copied page.
 | Time to read: About 5 minutes |
 | Intended for: SharePoint developers who use Power Automate |
 | Key takeaway: In this tutorial I will demonstrate how to disable comments on a modern SharePoint page. |
For this tutorial, we will be using Office 365 SharePoint Online and Power Automate.
**Click on any of the images to see a larger view**
Step 1 – Create a new flow
In Power Automate, select “My Flows”, click on the “New” drop down, and then click on “Instant-from blank”: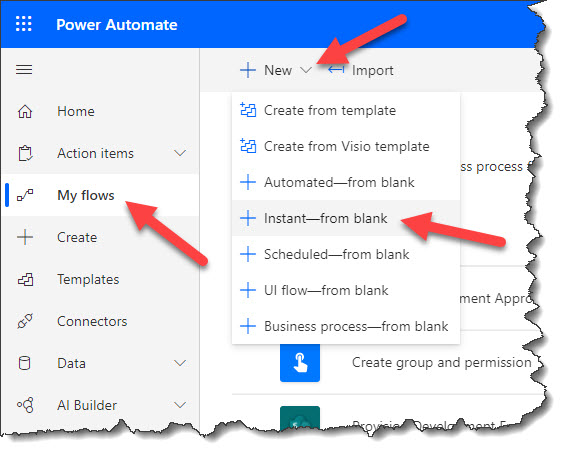
Name the flow “Disable Comments”, select “Manually trigger a flow”, and then click on the “Create” button: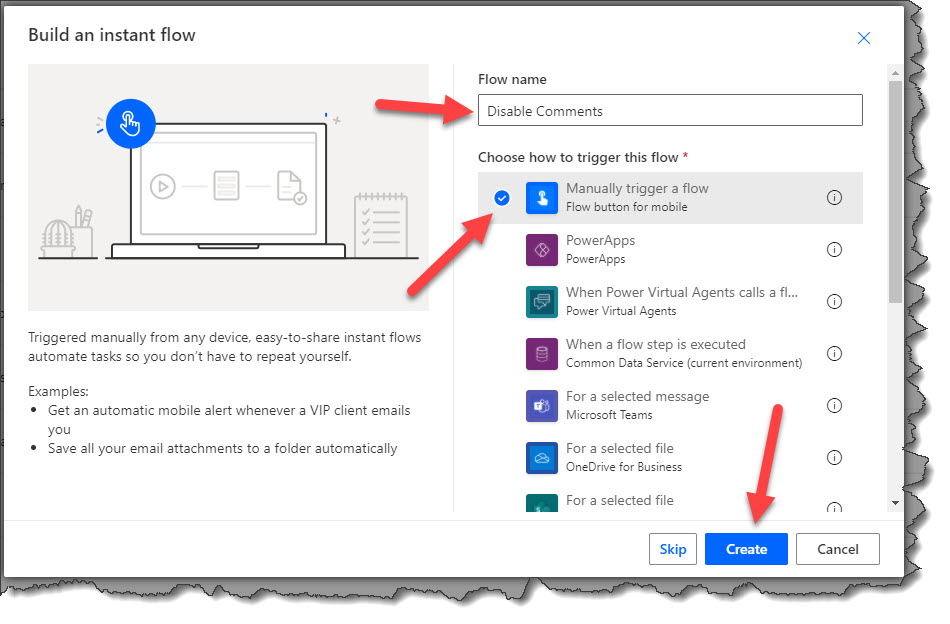
Step 2 – Add actions
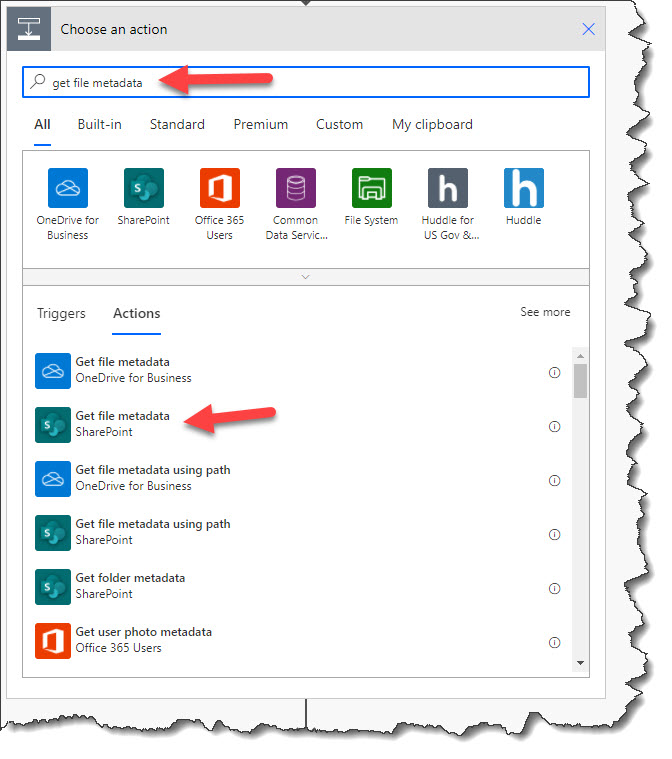
Click on the “+ New step” button, search for the “Get file metadata” action, and add it: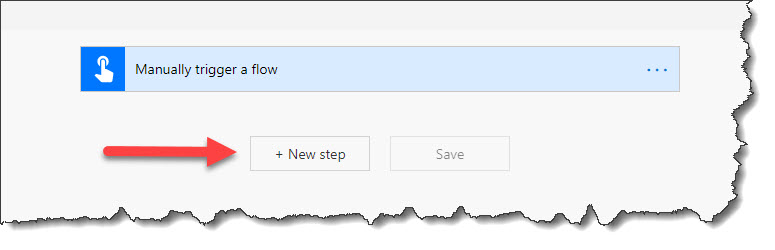
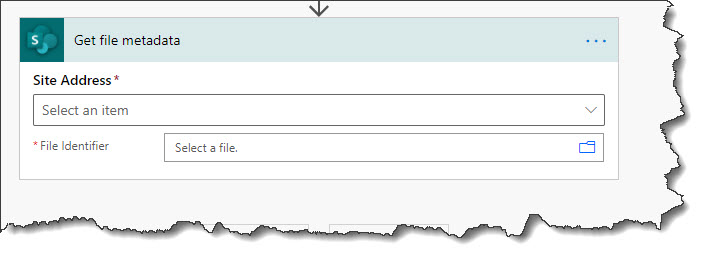
Select the Site Address from the drop down menu: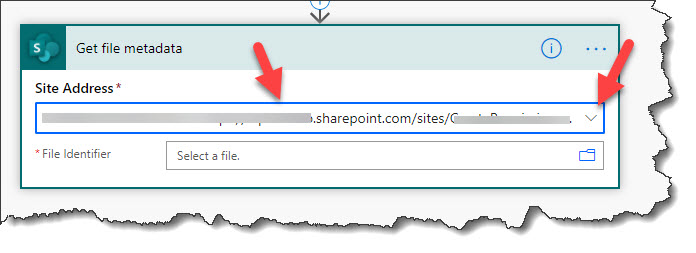
Click on the folder icon in the “File Identifier” field, and then click on the right arrow: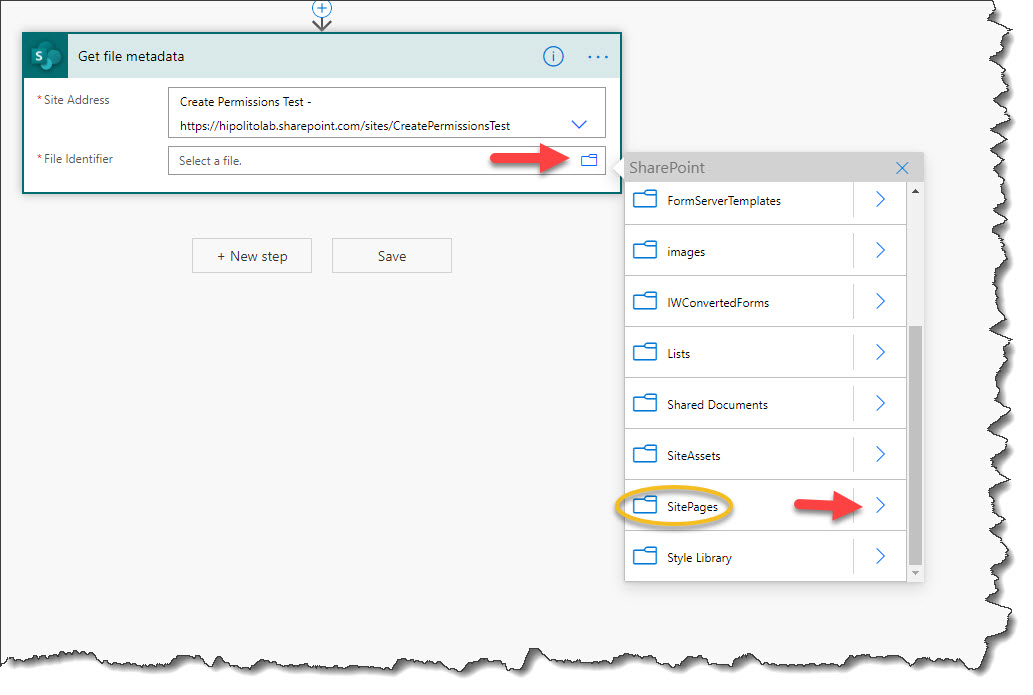
To select a page that you would like to disable the comments on, scroll down and select the page. For our example, I am selecting a page entitled PageTestOne.aspx: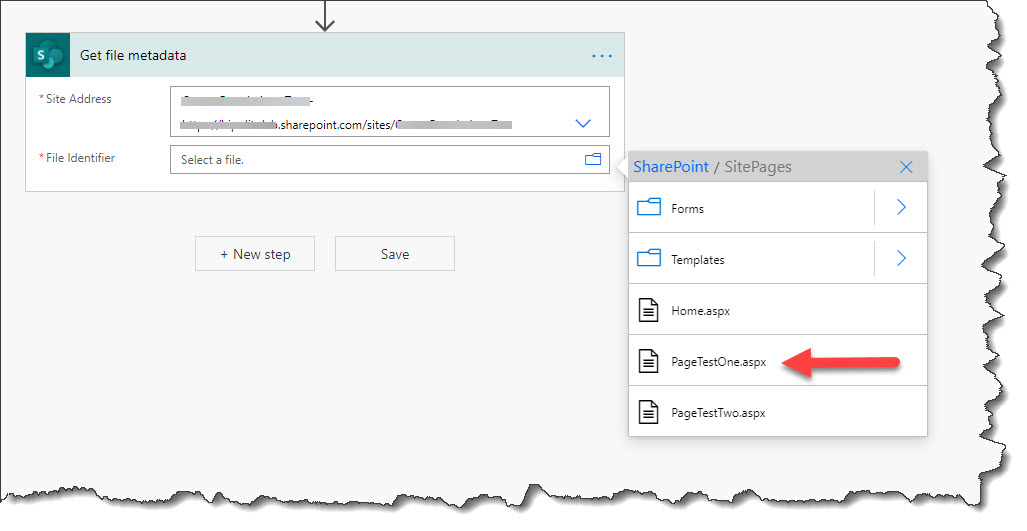
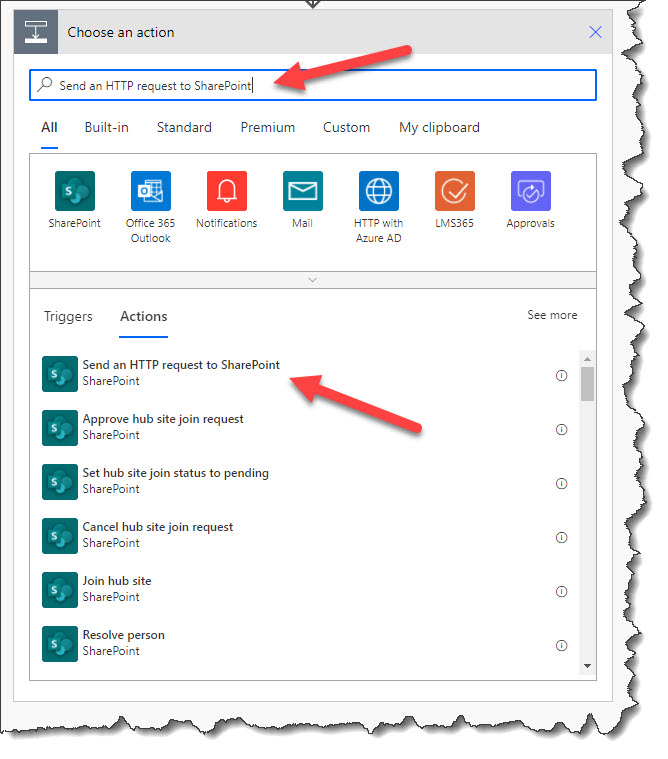
Click on the “+ New step” button, search for the “Send an HTTP request to SharePoint”, and then click on it to add it: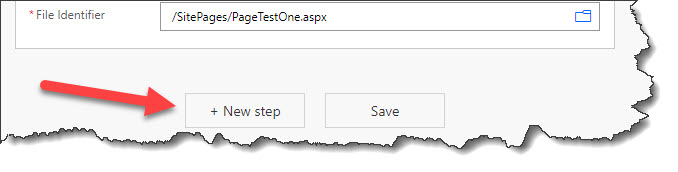
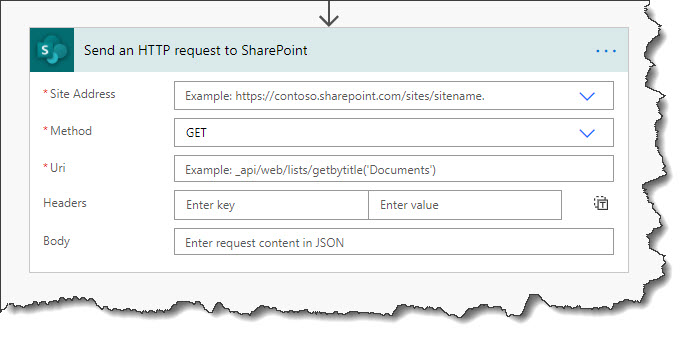
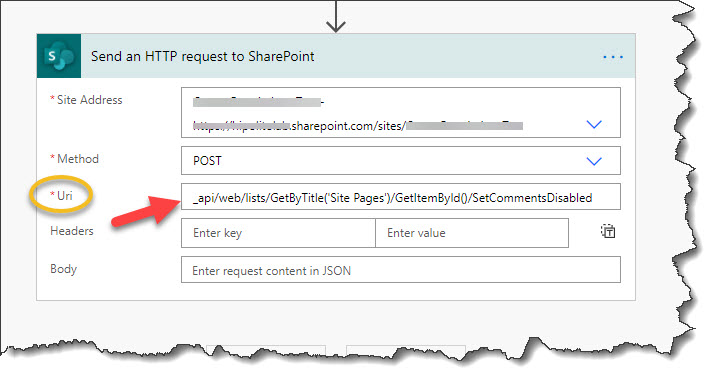
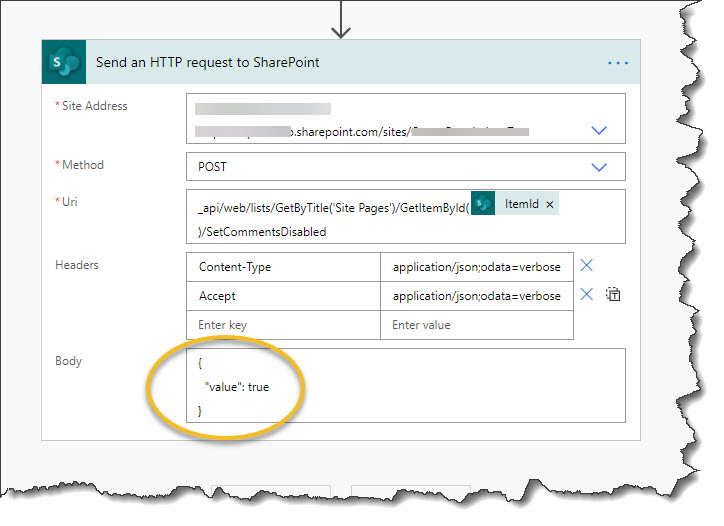
Select the “Site Address” and set the “Method” as “POST”: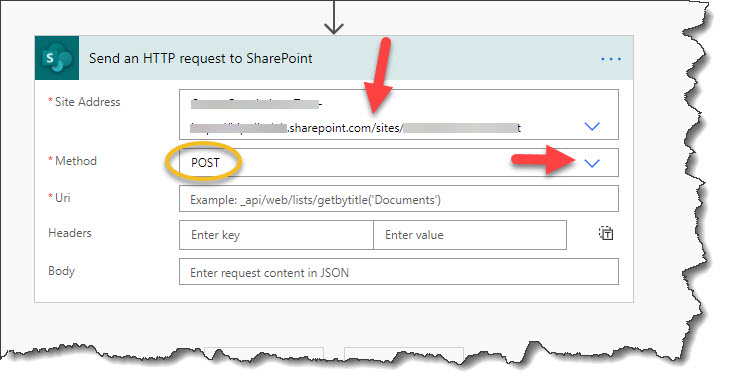
Copy the following URI and put it in the “Uri: field:
_api/web/lists/GetByTitle('Site Pages')/GetItemById()/SetCommentsDisabled
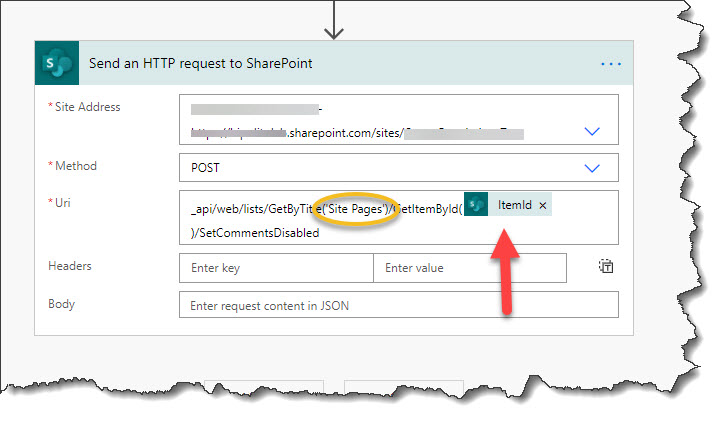
Place the cursor within the empty parenthesis and for the “Dynamic content”, select “ItemId” from the “Get file metadata” action. Notice that we are using “Site Pages” as the value for the title since we are selecting a page from that library: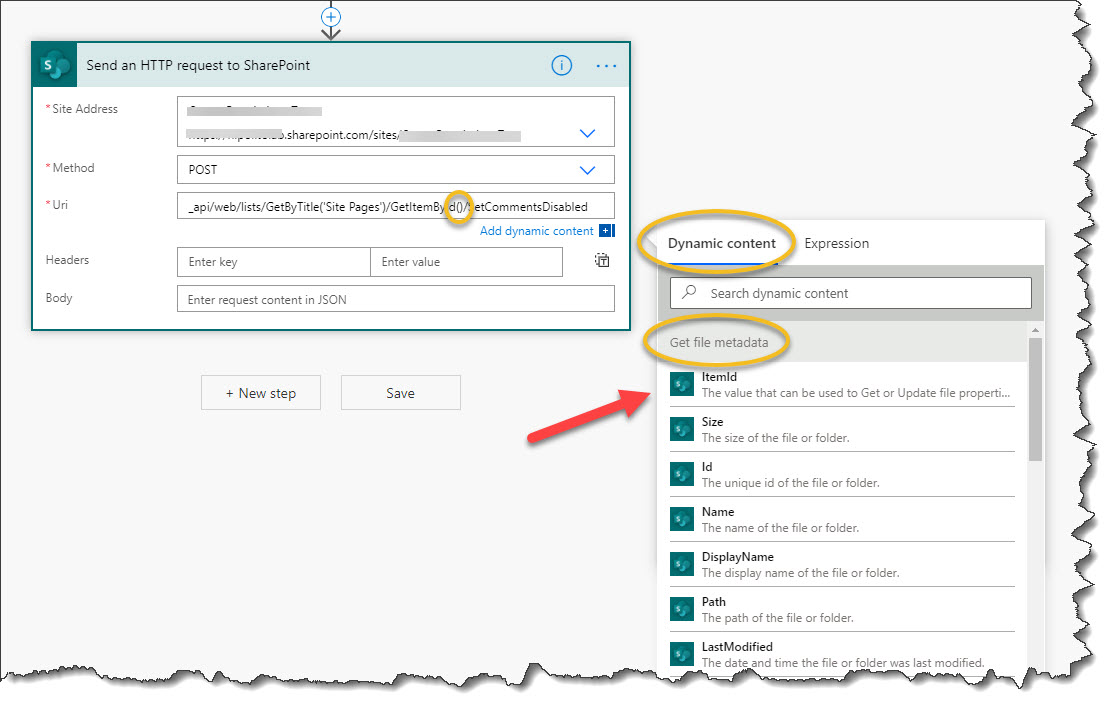
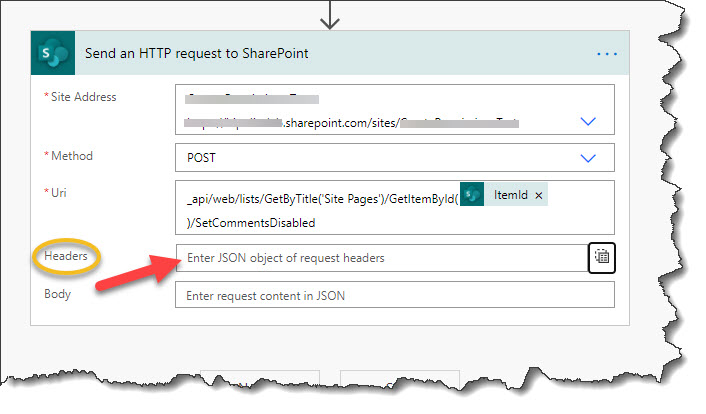
Click on the “Switch to text mode” icon: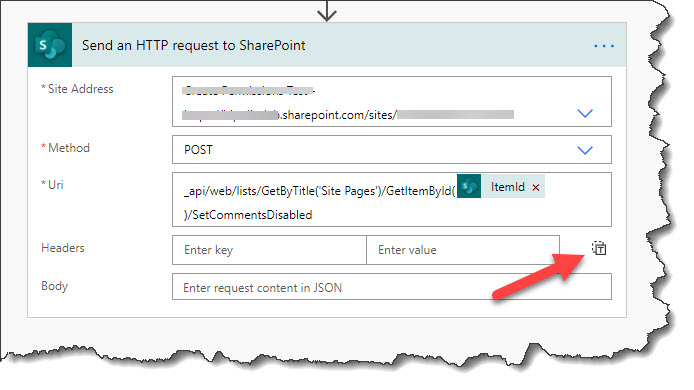
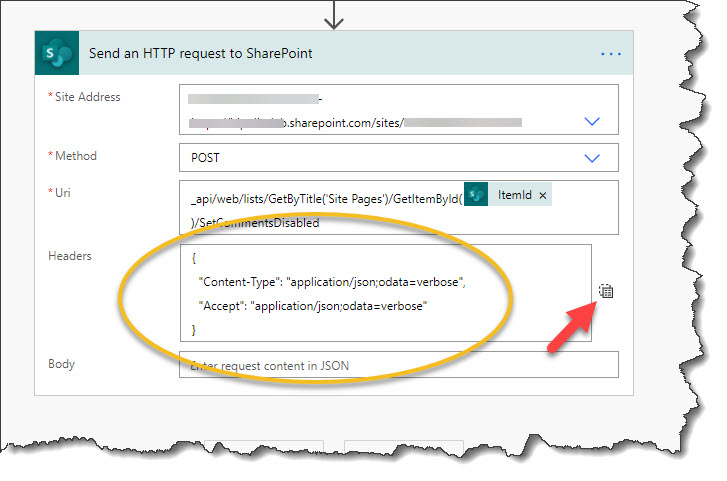
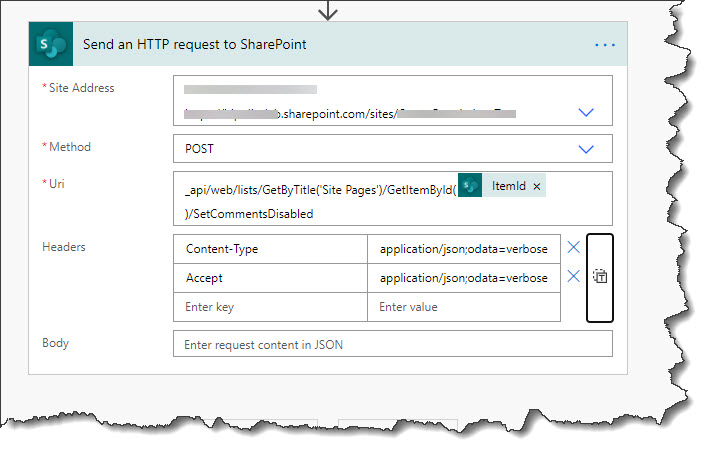
In the “Headers” field, enter the following JSON and then click on the “Switch to key value mode” icon:
{
  "Content-Type": "application/json;odata=verbose",
  "Accept": "application/json;odata=verbose"
}
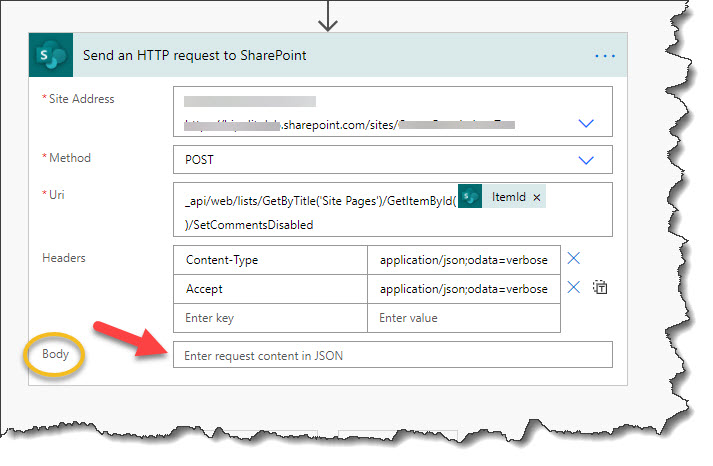
Copy the following JSON, and paste it in the “Body” field:
{
  "value": true
}
Save your flow: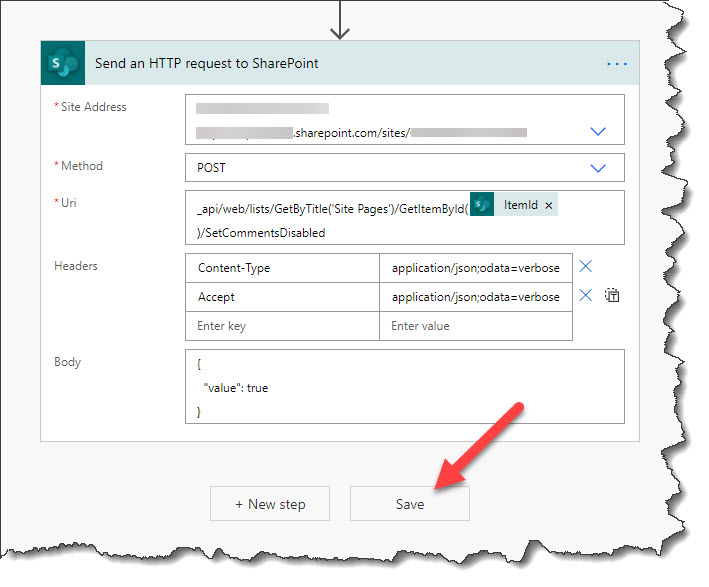
We now have all of our actions completed and we are ready to test.
Step 3 – Test
Go to the page that you selected in the “Site Pages” library from your “Get file metadata” step above and scroll to the bottom of the page. The URL should be similar to https://YourTenant.sharepoint.com/sites/YourSite/SitePages/YourPage.aspx. Notice that commenting is on. If not make sure you have selected page where commenting is on: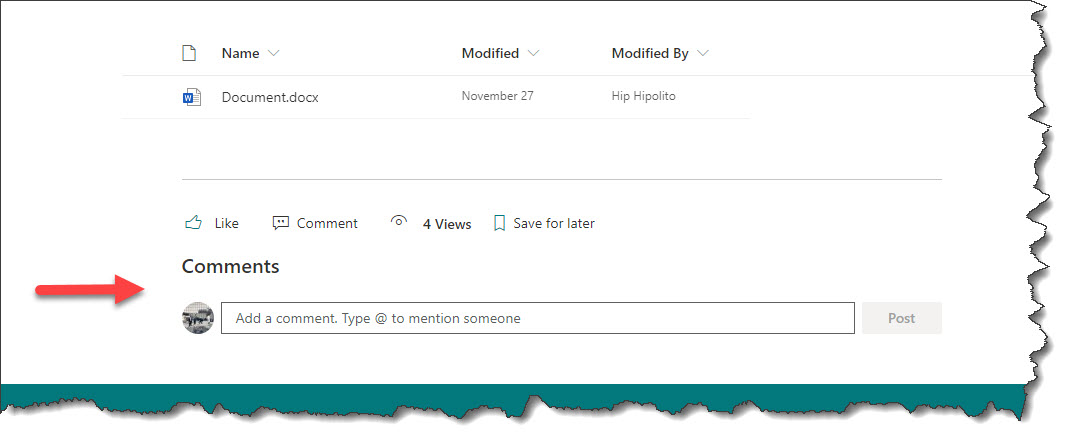
In your flow, Click on the “Test” button in the upper right corner of the page:
Select “I’ll perform the trigger action” and then click on the “Save & Test” button: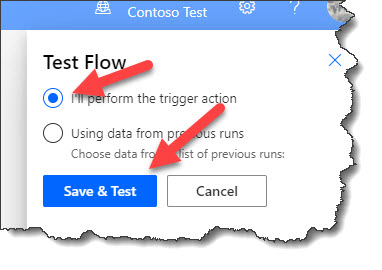
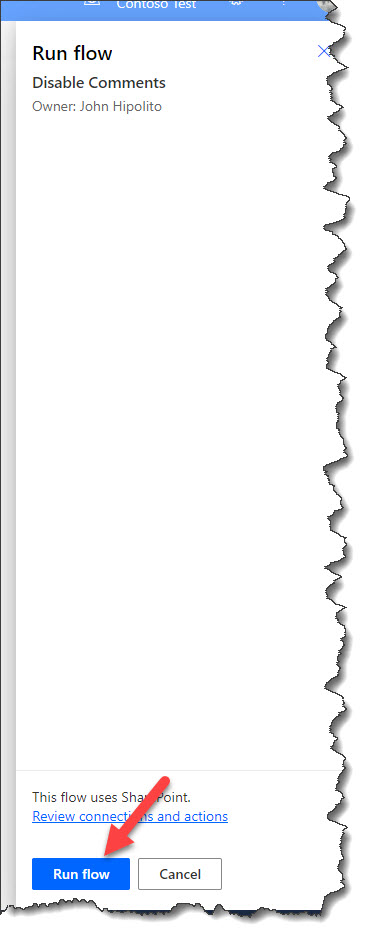
If you see the “Sign in” panel, click on the “Continue” button, and then click on the “Run Flow” button: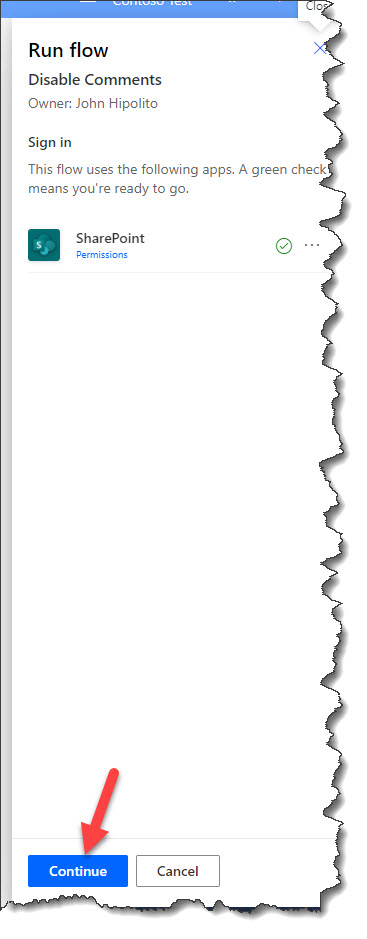
You should now see the “Started” panel. Click on the “Done” button: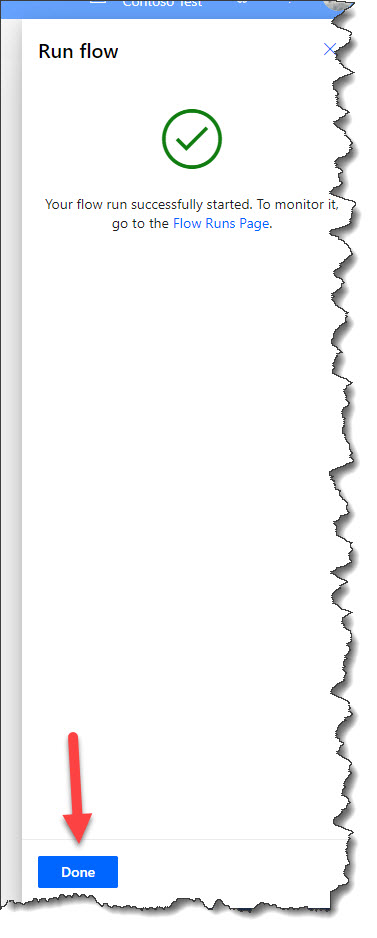
Your flow will either be running still or it has completed already. There should be an indicator specifying the outcome: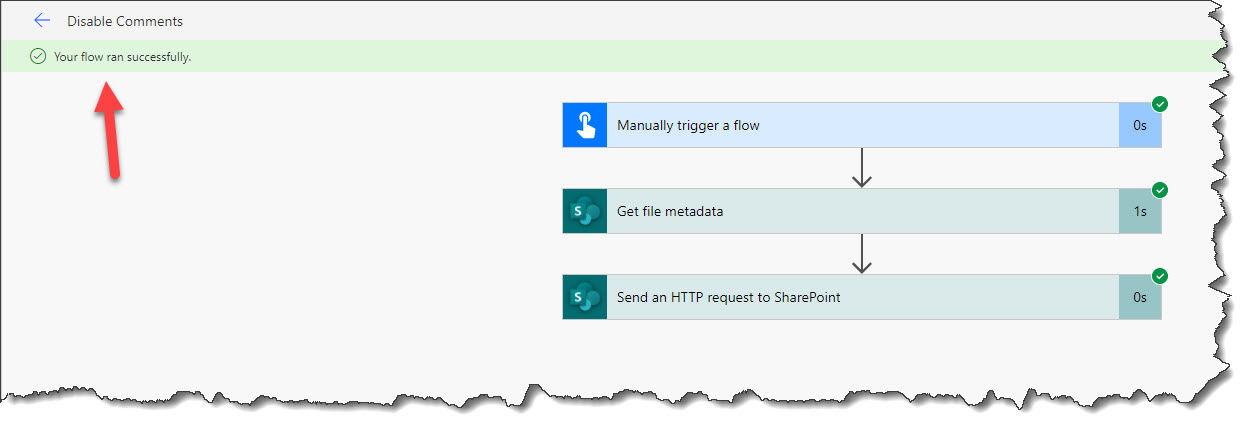
Going back to the page you selected, you will notice that the comments are no longer showing: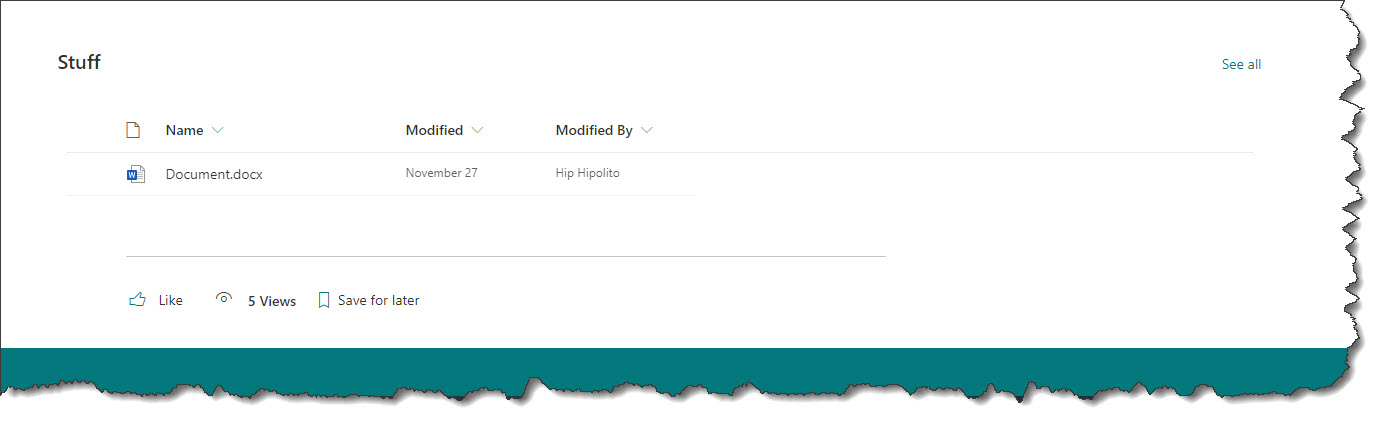
Happy SharePointing!
This works great, but it requires me to hardcode in the site (page) I want to disable comments…one by one. That’s not realistic, so how do you disable comments for all new sites (News posts) immediately when they get posted?
Hi Jim,
This was never intended as a way to change all pages in a site collection. This was only intended for one-offs. As you may know, you could accomplish this at the tenant level. A quick google search has many helpful resources. I grabbed the first one for you:
https://www.sharepointdiary.com/2018/11/sharepoint-online-disable-page-comments-using-powershell.html#:~:text=Navigate%20to%20SharePoint%20Online%20Admin,OK%20to%20save%20your%20changes
You could also iterate through a list of site pages in a site collection if you would like, using many of PA’s actions (an object variable for example and an apply to each action).
Take care,
John
This is great and exactly what I was looking for. Is there a method to enable the comments?
You have to set the value to false. Did you try that yet?
Take care,
John