

In this tutorial I will demonstrate how to streamline the build and deployment process for your SharePoint Framework projects in Azure DevOps.
 | Time to read: About 15 minutes |
 | Intended for: SharePoint developers who do SPFx (SharePoint Framework), folks who work in Azure DevOps |
 | Key takeaway: In this tutorial I will demonstrate how to streamline the build and deployment process for your SharePoint Framework projects in Azure DevOps. |
For this tutorial, we are using Office 365 SharePoint Online. My SharePoint Framework project was created using Visual Studio Code and our Pipeline will be created in Azure DevOps. We are also assuming that you have a repository for you SPFx code. In this example, I created a simple SPFx project.
**Click on any of the images to see a larger view**
Step 1 – Build the Continuous Integration (CI) Pipeline
In Azure DevOps, click on “Pipelines” in the left navigation area:
Click on the “New pipeline” button in the upper right of the screen: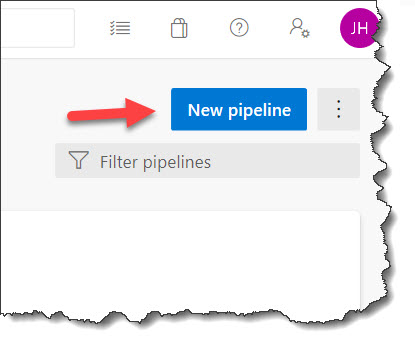
In the New pipeline window, select “Other git”: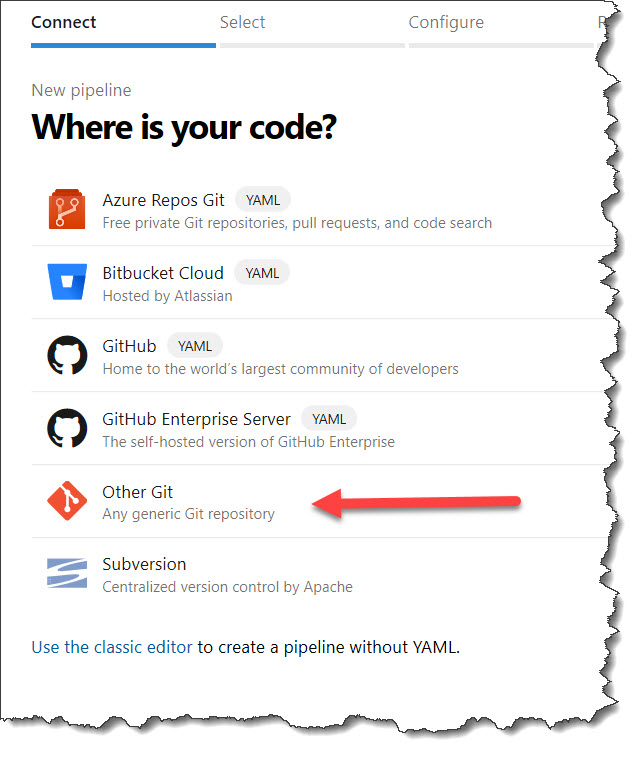
For the source, select “Azure Repos Git”, make sure your team project is selected, select your repository where the SPFx code is stored, and then select the branch. Click on the “Continue” button: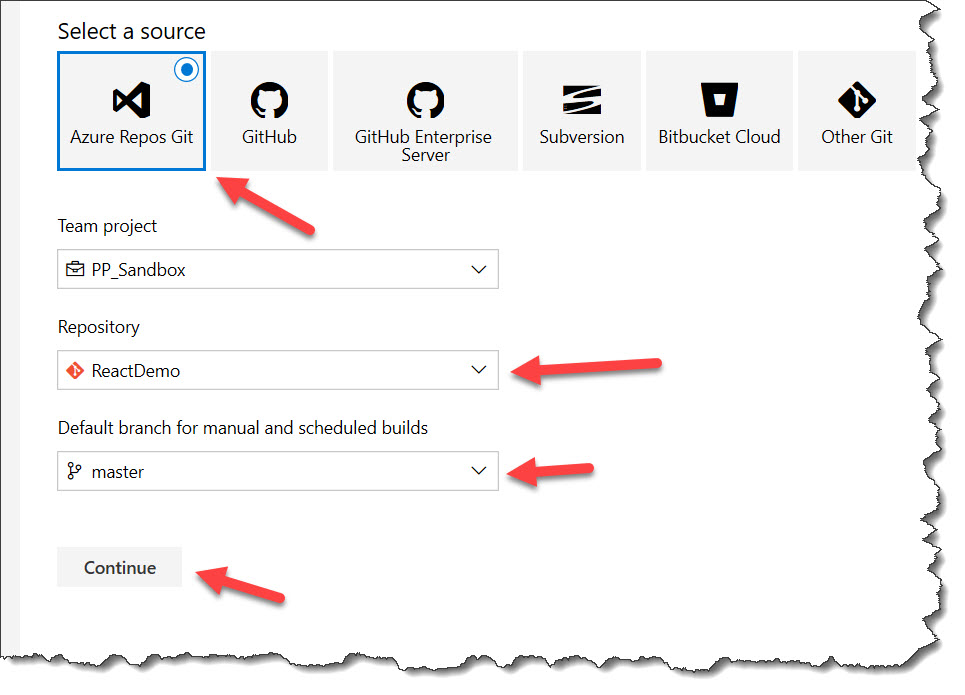
Click on “Empty job”: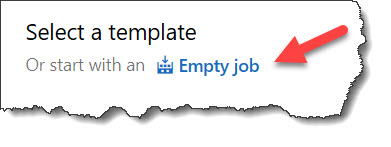
Let’s change the name of this Pipeline. Click the name of the Pipeline at the top and change it to something more meaningful:
After changing the name you should see something similar to this: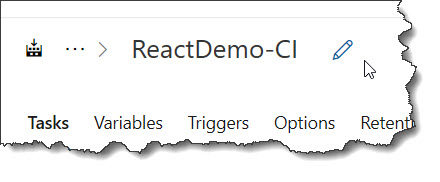
Click on the plus sign and in the search box, type in “node”. Hover over “Node.js tool installer”, then click on the “Add” button: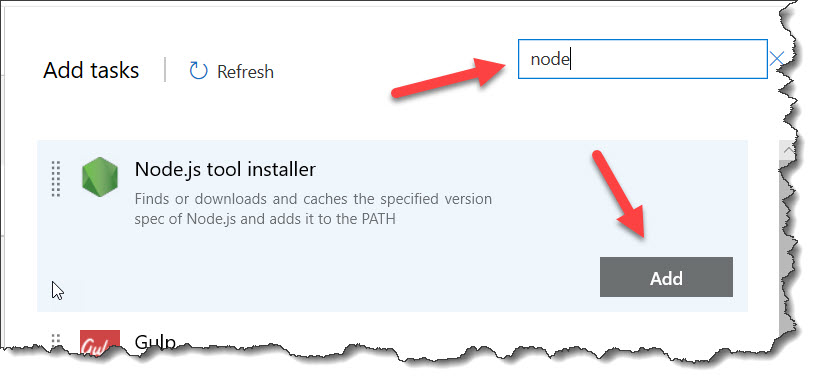
Click on the Node task you just added and change the version to 10.x: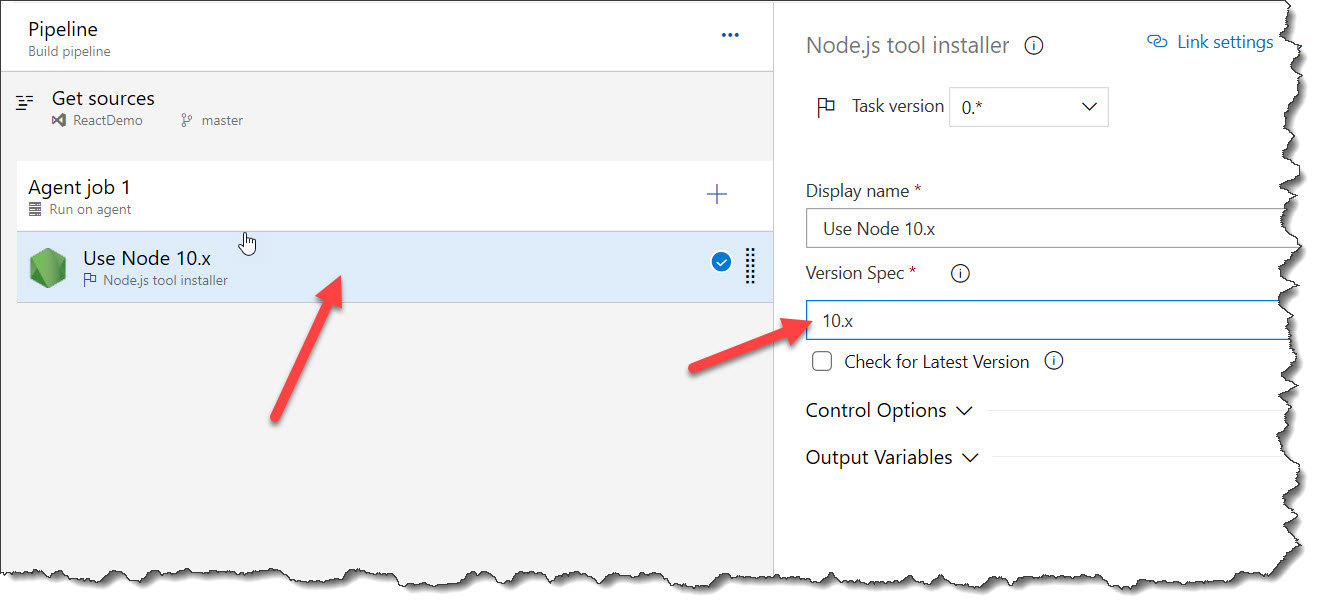
Add another task by clicking on the plus sign again. This time, we are going to type “npm” in the search box. Hover over “npm” and click on the “Add” button:
Click on the plus sign to add another task. In the search box, type in “gulp”. Hover over “Gulp” and click on the “Add” button: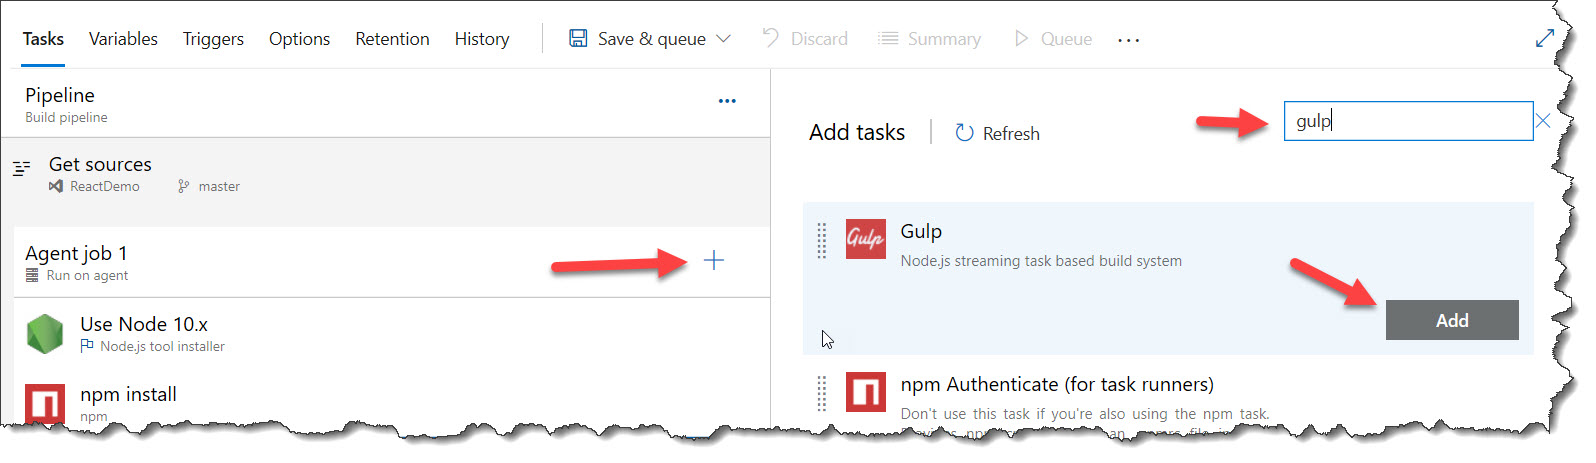
Click on the Gulp task you just added and fill out the following:
Display name: gulp bundle --ship
Gulp File Path: gulpfile.js
Gulp Task(s): bundle
Arguments: --ship
Add another gulp task
Display name: gulp package-solution
Gulp File Path: gulpfile.js
Gulp Task(s): package-solution
Arguments: --ship
Add another task but this time, search for “copy files”: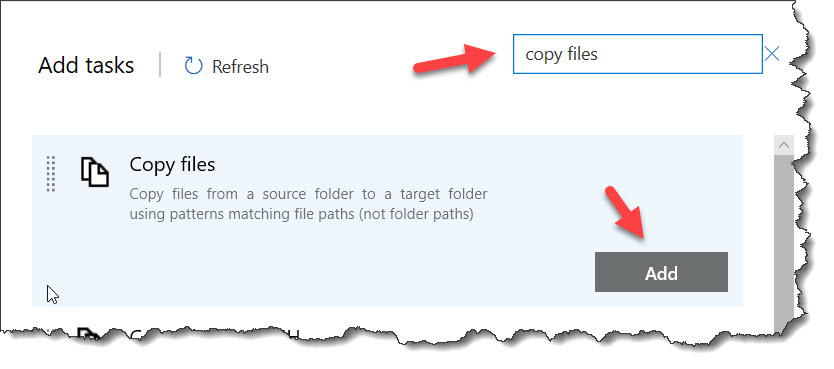
Display name: Copy Files to: $(build.artifactstagingdirectory)/drop
Contents: **\*.sppkg
Target Folder: $(build.artifactstagingdirectory)/drop
Add the last task. Search for “publish build artifacts”: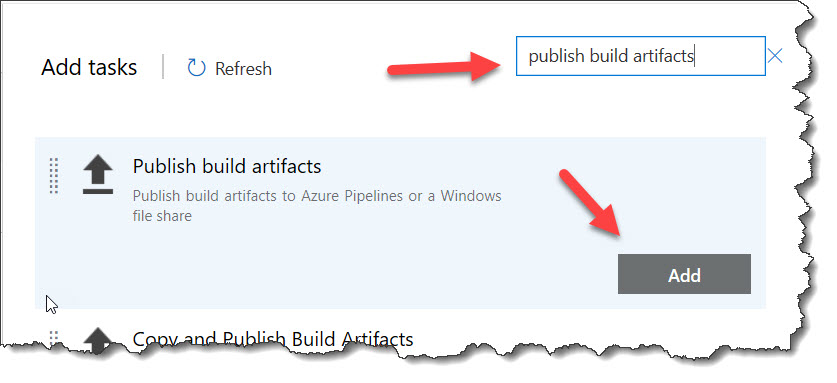
Display name: Publish Artifact: drop
Path to publish: $(Build.ArtifactStagingDirectory)/drop
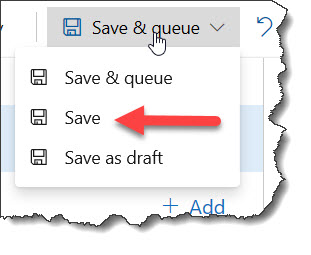
Save the pipeline by clicking on the “Save & Queue” drop down menu and selecting “Save”: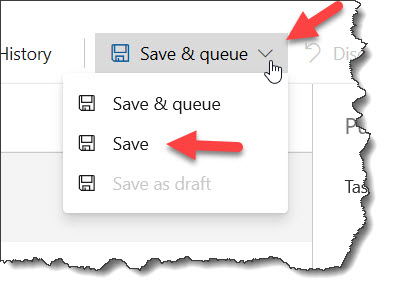
Keep the default path and click on the “Save” button: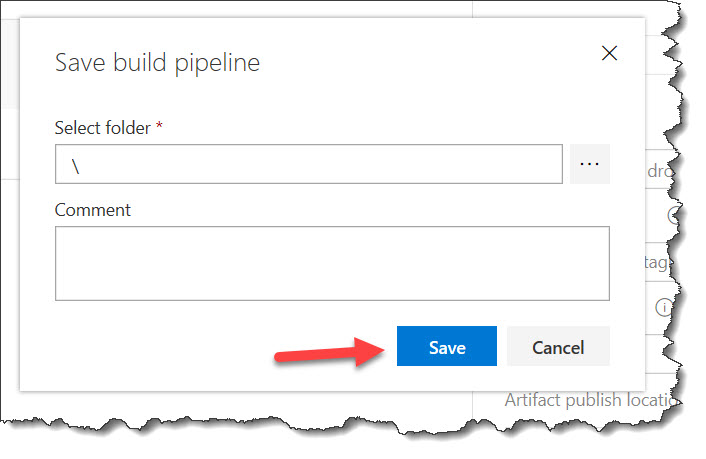
Step 2 – Building the release pipeline for Continuous Deployment (CD)
Click on “Releases” in the left navigation area:
Click on the “New” drop down menu and select “New release pipeline”:
Lets select an “Empty job” for our template: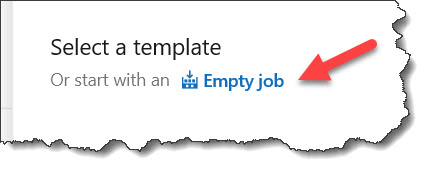
Click on “Add an artifact”: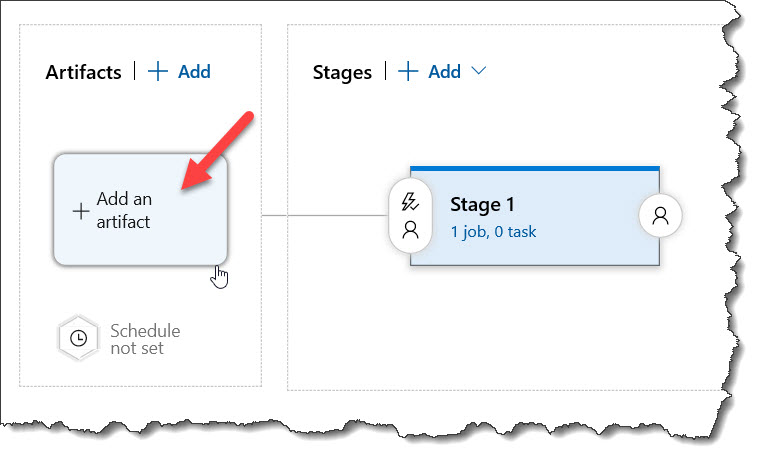
In the “Source (build pipeline)” drop down menu, select the name of the build pipeline we created in step 1 above: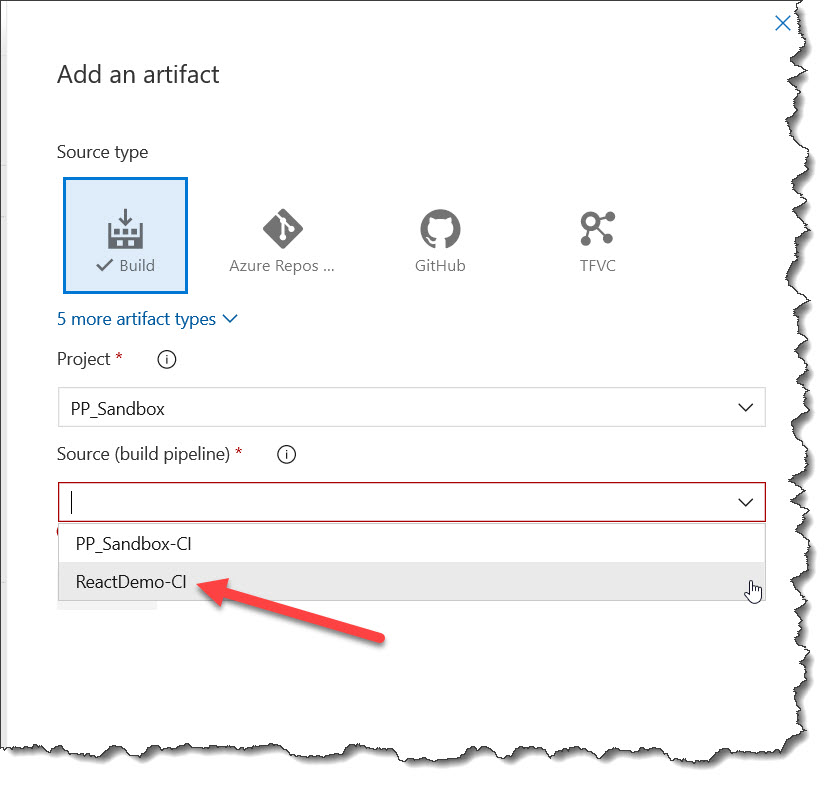
In the “Source alias” field type in an alias that you’ll need to remember for future steps…Write it down. Click “Add” when you are done:
Click on “1 job, 0 task”: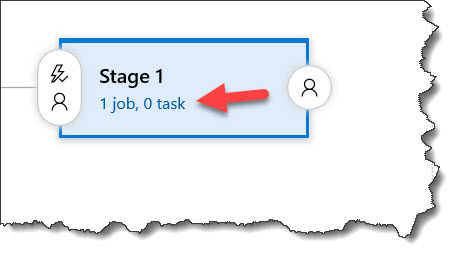
We will now add tasks like we did in step 1.
Click on the plus sign to add a task. Search for “node” and add the “Node.js tool installer”.
Version Spec: 10.x
Click on the plus sign and add the “npm” task.
Display name: npm custom
Command: custom
Command and arguments: install -g @pnp/office365-cli
Before we add the last tasks, we need to install the Office 365 CLI and do an interactive login with the account that we will be using where our app catalog lives. We will do this by first installing the Office 365 CLI in Visual Studio Code. In the terminal, install Office 365 CLI by typing the following:npm i -g @pnp/office365-cli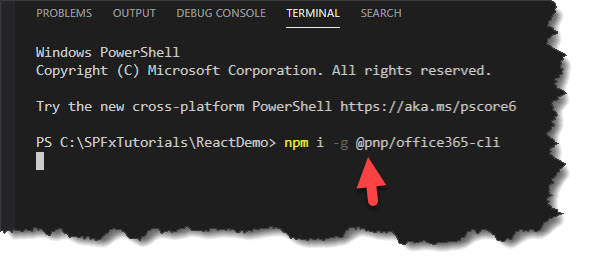
Start the Office 0365 CLI by typing:office365
At the $o365 prompt type in login and you will see the following information:
I have the code blurred for security reasons. Go to the url given and type in the code shown. Login with the account associated with your tenant where you will deploy your package. Type in quit or exit to end the Office 0365 CLI session. All set!
Add a “Command line” task by clicking the plus sign and searching for “command line”.
Display name: Connect to SharePoint App Catalog
Script: o365 login https://$(tenant).sharepoint.com/$(catalogsite) --authType password --userName $(username) --password $(password)
Add another “Command line” task.
Display name: Add Solution Package to App Catalog
Script: o365 spo app add -p $(System.DefaultWorkingDirectory)/ReactDemo-CI/drop/sharepoint/solution/react-demo.sppkg --overwrite --appCatalogUrl https://$(tenant).sharepoint.com/$(catalogsite) --scope sitecollection
In the above script, ReactDemo-CI is the alias that we wrote down. The solution package for my code in the script is react-demo.sppkg. You’ll want to make sure you have the name of your package correct from your SPFx project. To locate the name, you can do a gulp build, gulp bundle --ship, and a gulp package-solution --ship in Visual Studio Code. You will find the package in your sharepoint/solution folder. If your App Catalog is a site collection app catalog then you MUST include --scope sitecollection. If it is a tenant app catalog, then you can remove --scope sitecollection.
Add a “Command line” task by clicking the plus sign and searching for “command line”.
Display name: Deploy App
Script: o365 spo app deploy --name react-demo.sppkg --appCatalogUrl https://$(tenant).sharepoint.com/$(catalogsite) --scope sitecollection
In the above script, make sure you use the name of your package. I am using in my example, react-demo.sppkg. If your App Catalog is a site collection app catalog then you MUST include --scope sitecollection. If it is a tenant app catalog, then you can remove --scope sitecollection.
Click on the “Variables” tab: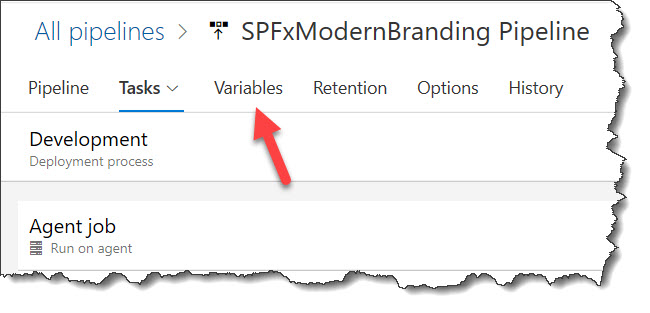
Click on the “Add” button: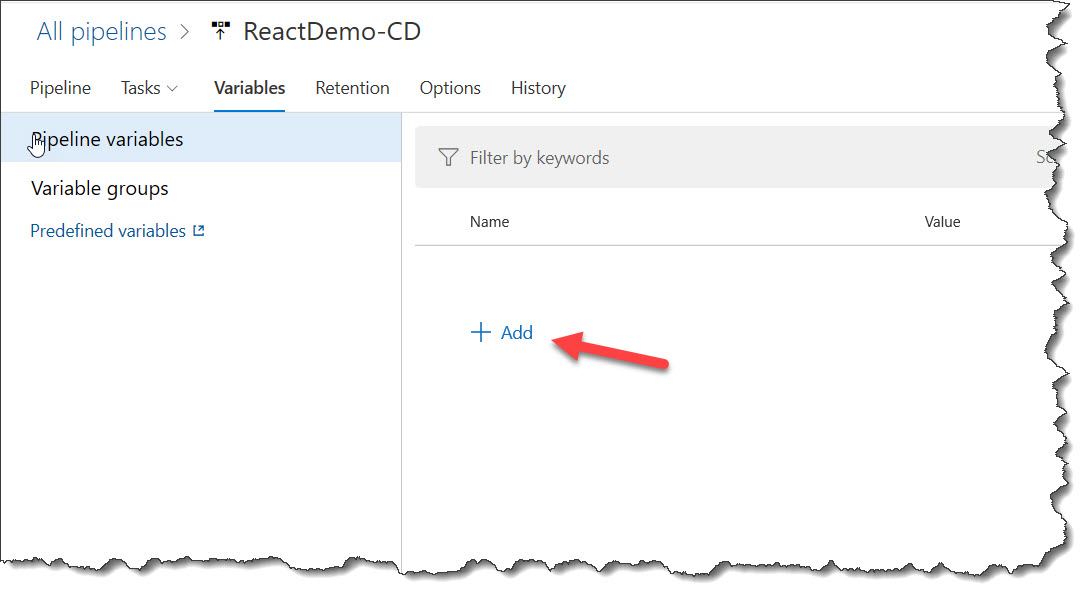
Add the following variables:
Name: catalogsite
Value: sites/johndemo/appcatalog
Name: password
Value: Whatever your password is. Click on the lock to lock/hide your password
Name: tenant
Value: Whatever your tenant name is
Name: username
Value: Your login email address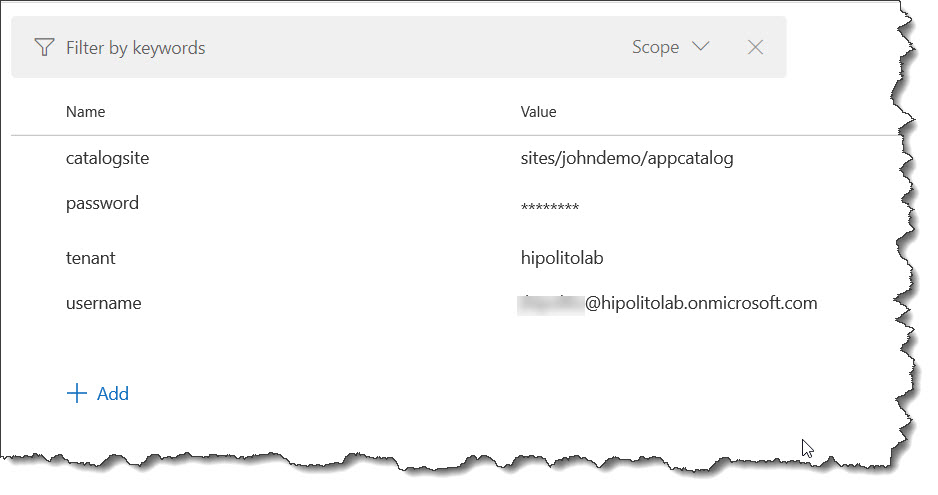
Click on the “Pipeline” tab, then click on the “Continuous deployment trigger” button: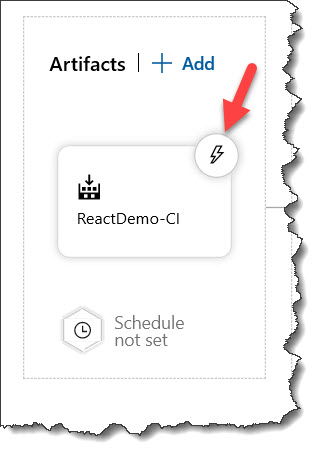
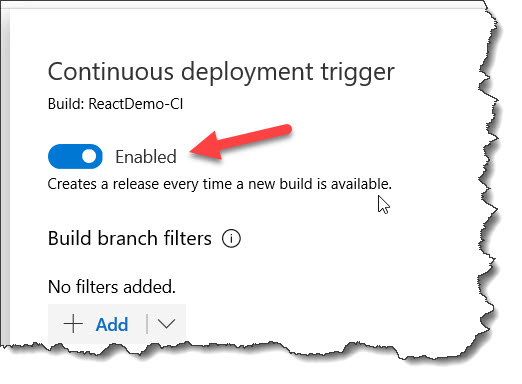
Click on the trigger switch to make it “Enabled”: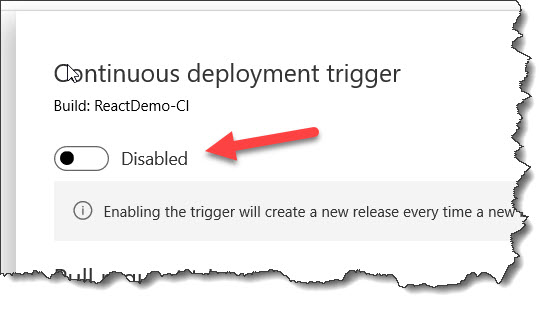
Click on the “Save” button: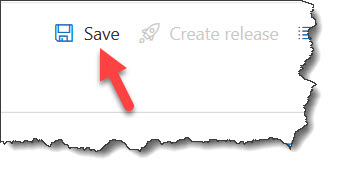
To have your pipeline be triggered when you push your code to the repository, click on “Pipelines” in the left navigation area and select the CI Pipeline we created: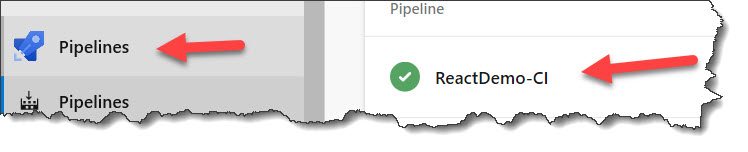
Click on the “Edit”button in the upper right corner: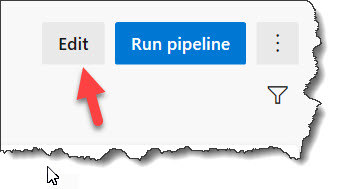
Click on the “Triggers” tab:
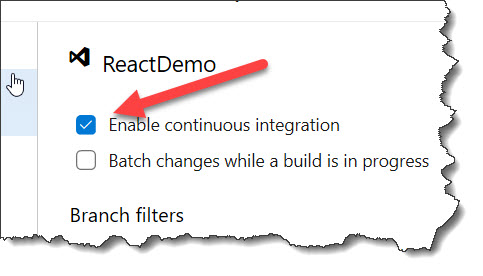
Select the “Enable continuous integration” checkbox, then click on the “Save & queue” and select “Save”: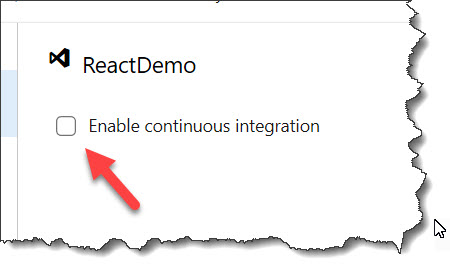
Step 3 – Test
Click on “Pipelines” in the left navigation area.
Click on the “All” tab: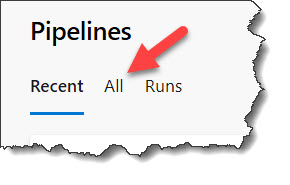
Select the CI Pipeline we created in step 1: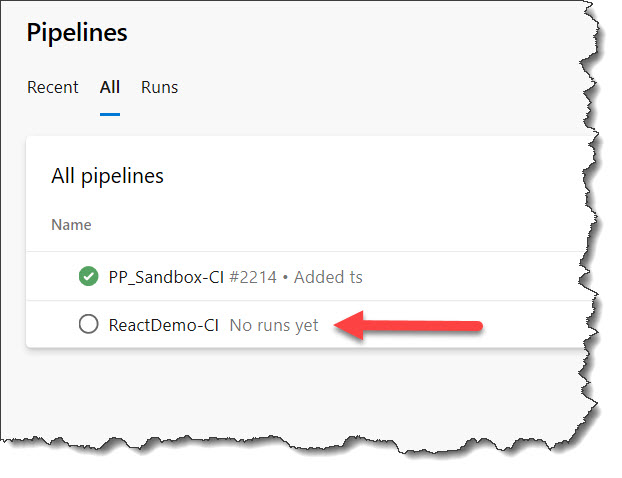
Click on the “Run pipeline” button: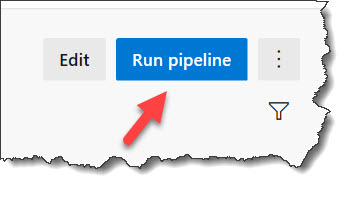
Click on the “Run” button: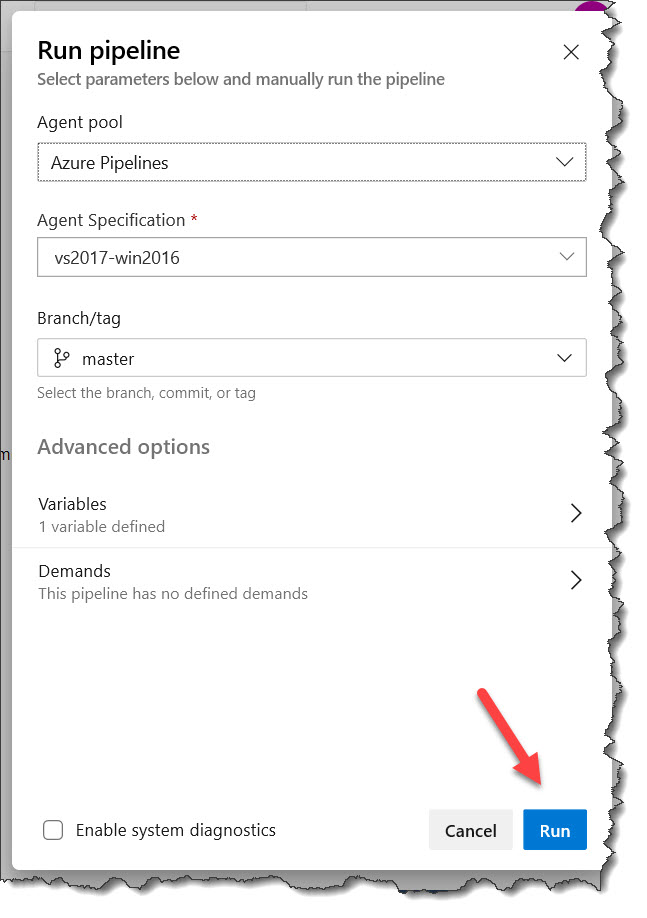
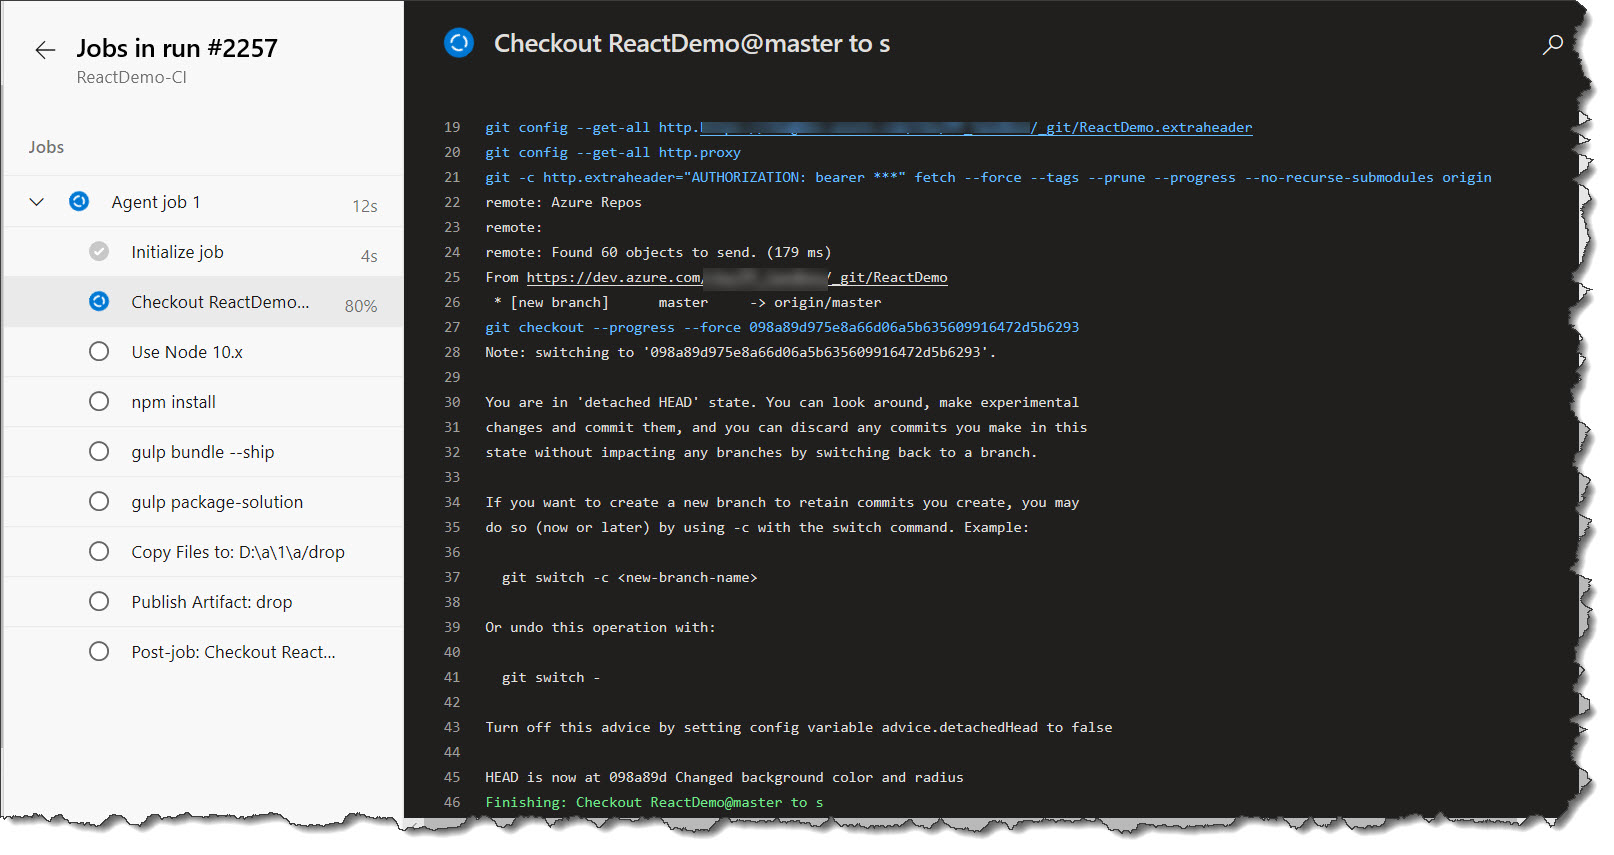
To see the progress for the CI Pipeline, click on “Agent job 1”: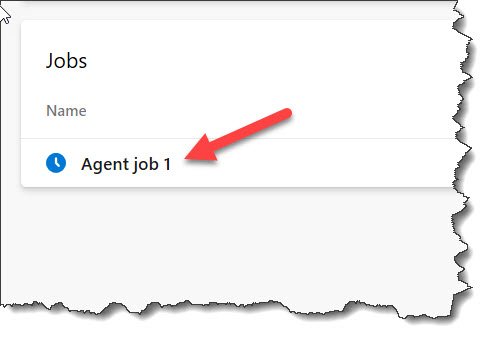
As soon as the job has completed successfully, you can also check the progress of the CD pipeline. Click on “Releases: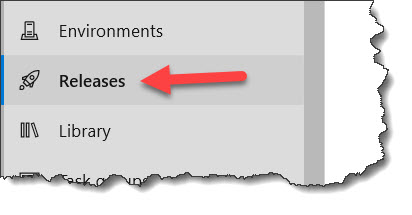
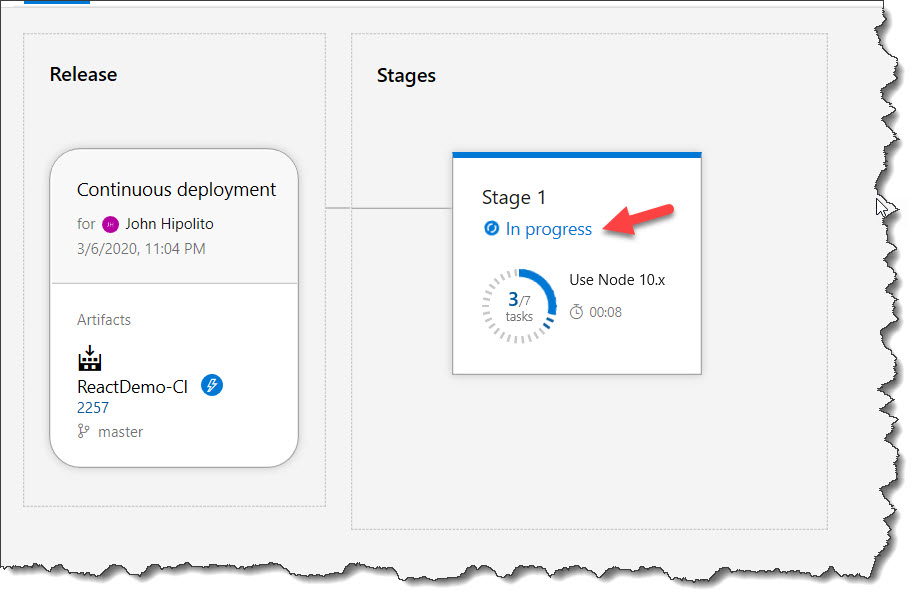
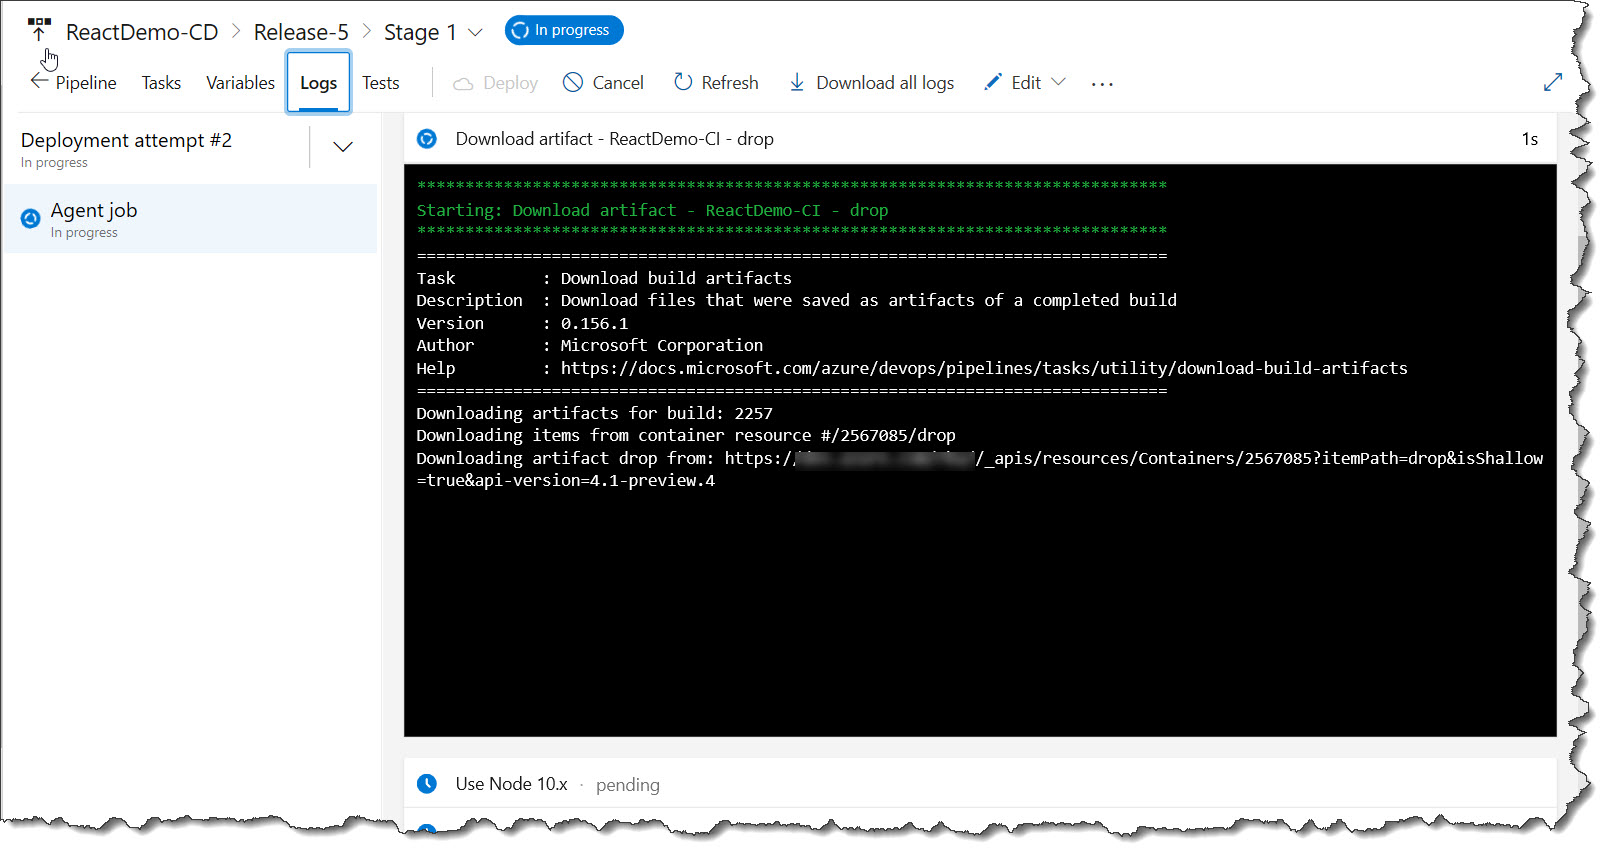
Click on the current release. In my example it is “Release-5”, then click on “In progress”: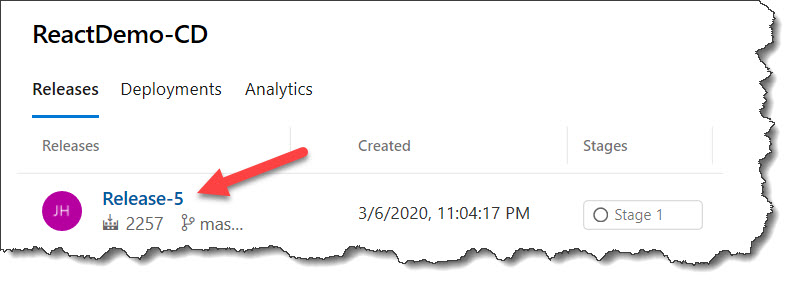
After a successful run, you should see that your app is now deployed in the app catalog:
Try testing from Visual Studio Code to see how it all falls in to place by simply doing a code push to the repository. A simple push does all the work for you!
Happy SharePointing!
Thanks for article, this was very helpful. I am getting error “File not found” on specific location while “Adding solution to App catalog” . I tried with hard corded path which we are getting from CI. Can you help me on this
Is it a site collection App Catalog or Tenant? Make sure you specify if it is a site collection App Catalog.
Hi John!
Thanks for the detailed instructions. These are very helpful. I do have a quick question: Let’s say I create an SPFx web part and deploy it. I then add it to a site and set the web part properties.
I then make changes to the web part (let’s say I add a new property to it). I then redeploy the app package. Will the properties values of the web part that I deployed and added to my site in the earlier step be overwritten or will they be maintained?
I am assuming they will be maintained but wanted to get your inputs as well on that.
thank you!