 | Time to read: About 5-7 minutes |
 | Intended for: Sitecore commerce developers, Sitecore developers, Senior developers & leads |
 | Key takeaway: In this “Good” approach, use Postman to initialize your Sitecore commerce data. Postman, an API testing tool, can assist in creating the data you need for Sitecore Commerce. |
In any Sitecore Commerce implementation, it can be a challenge to ensure that every environment (local, integration, QA, prod) in the solution has a consistent setup, and that each environment has data for testing the Commerce blocks and pipelines that the development team has created. Developers need data to test their work, QAs need data to QA. And in Commerce, there is a lot of data to create.
Each environment must have catalogs, sellable items, variants, inventory, promotions, prices, etc. to exercise the business logic being developed for the solution. And after developers and testers have completed a set of tasks (a feature, a test case, etc.), it is ideal to be able to “reset” the environment back to a known state, but still containing the necessary data for the next task. In other words, a data load solution that is automated.
In this this three-part series, I will offer three approaches, in a “good, better, best” format, to solve this challenge. Keep in mind that these approaches can be blended, and while I am calling the final one “best”, that particular approach may be wholly inappropriate depending on data sensitivity, catalog size, etc.
Manual approach (not recommended)
First off, before we dive into the good approach, I would like to discuss a scenario that I’m calling manual. While I would never recommend this manual approach in a real-world scenario, it does allow me to set the stage for the scope of the problem with creating Commerce data. The manual approach has merchandizers entering their Commerce data directly through the Sitecore Commerce Business Tools (BizTools).
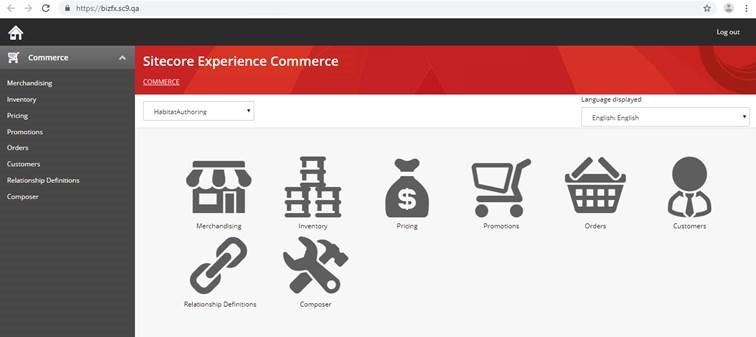
While this may work for a very limited catalog, or for testing very specific scenarios, it is simply not a maintainable approach for creating Commerce data across multiple environments (especially in a multi-tenant solution). Additionally, merchandizers would not have access to the BizTools on an individual developer’s workstation, leaving catalog creation and setup to each and every developer on your team. Finally, during a Sitecore Commerce upgrade, this data may be lost or be very difficult to migrate.
The good approach
A good approach would be to use Postman. Postman is an API testing tool, which is freely available and very powerful. Postman has environments, collections and variables, which, when used together can assist in creating the data you need for Commerce. Below are the main concepts in Postman, in case you are not familiar:
- Variable: A string-replacement approach for substituting a value into a Postman call that is being made. For example, you might have a Postman call for getting the available catalogs from Commerce.
- Environments: An environment is a group of variables and their values, meant to represent those that you would use for a particular Sitecore Commerce environment.
- Collection: A grouping of APIs calls, which can be run in order through the Collection Runner.
Getting started with Postman
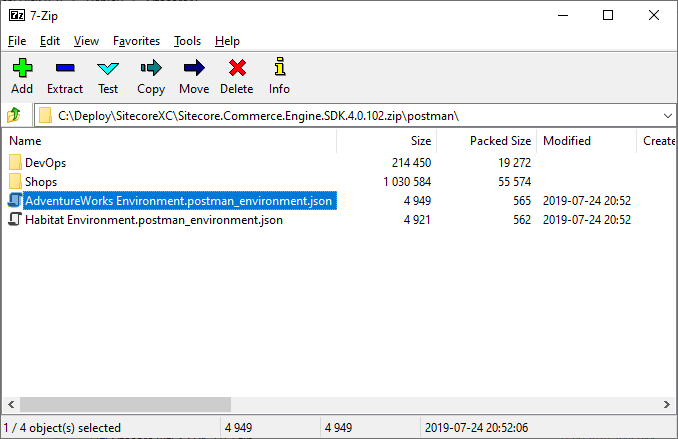
To begin, import the out-of-the-box Sitecore Commerce Postman collections into Postman (instructions), included in your installation of Commerce. They are typically located in Sitecore.Commerce.Engine.SDK ZIP file, in the “postman” folder.
These API calls include many examples that can be used to change or query your Sitecore Commerce environment. You can find a description of each here.
You then want to create a new Postman Collection called “Initialize”. Into this collection you should copy the following API calls from the Sitecore examples:
- Authentication\Sitecore\GetToken
- SitecoreCommerce_DevOps\Environment Bootstrap\Bootstrap Sitecore Commerce
- SitecoreCommerce_DevOps\Clean Environment\Clean Environment
- SitecoreCommerce_DevOps\Environment Initialize\Initialize Environment
- SitecoreCommerce_DevOps\Environment Initialize\Check Long Running Command Status (rename with ” – Init” at the end)
- SitecoreCommerce_DevOps\Environment Initialize\Ensure\Sync default content paths
- SitecoreCommerce_DevOps\Environment Initialize\Check Long Running Command Status (rename with ” – Sync” at the end)
Pro Tip: click on the API call you want to copy, hit ctrl+c, then click on the “Initialize” collection and hit ctrl+v
Now create another Postman collection called “TestData”, and copy the following Sitecore Postman examples into it:
- Authentication\Sitecore\GetToken
- CatalogAPIExamples\Catalog – DoActions\Add Catalog
- CatalogAPIExamples\Catalog – DoActions\Add Sellable Item (to Catalog)
- CatalogAPIExamples\Catalog – DoActions\Add Sellable Item Variant
- PricingAPISamples\API\Add price book
- PricingAPISamples\API\Add price card
- PricingAPISamples\API\Add price snapshot
- InventoryAPISamples\Inventory – DoActions\Add Inventory set
- InventoryAPISamples\Inventory – DoActions\Associate Sellable Item to Inventory Set
- InventoryAPISamples\Inventory – DoActions\Associate Catalog to Inventory Set
Next, Import the AdventureWorks Environment.postman_environment.json environment file into Postman. Copy this environment to a new environment called “Commerce Local”, and change the variables contained therein to appropriate values for your local environment.
Once done, you can run the “Initialize” collection API calls one at a time. (It is possible to automate this, but since both the “Initialize Environment” and the “Ensure/Sync default content paths” are “long running” calls in Commerce, you have to keep executing the “Check Long Running Command Status” API call until you get an “OK” response before continuing to the next step.)
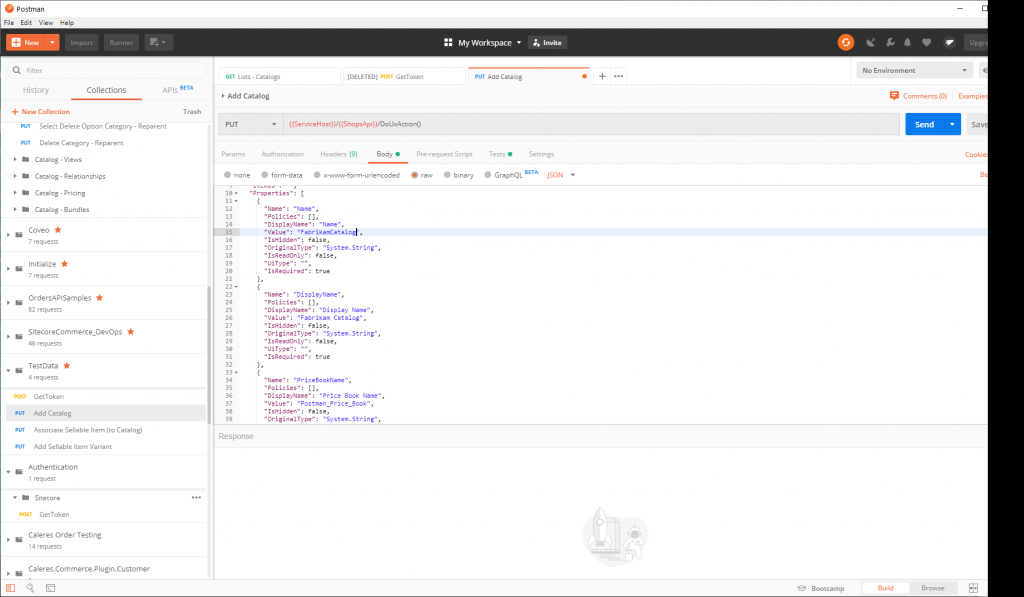
Next, you must modify the various API calls in the “TestData” collection to meet the needs of your solution. For example, changing the value of the “Value” property for the “DisplayName” of the “Add Catalog” API method so that it does not create a catalog called “Postman Catalog”. Similarly, change the “Name.”
You can also replace any of the properties found in these API calls with variables, then populate the variables using an external data file (documentation) in the Runner to create multiple catalogs, sellable items, variants, etc.
This approach will create one or more catalogs, with multiple sellable items, variants, etc. Additionally, once the Postman environments and collections are set up and tested, they can easily be exported and saved in source control, or shared with other developers. This will provide consistency with how the Sitecore Commerce environment is set up and loaded with data, to ensure that functionality developed locally will also work with the data in the higher environments.
Drawbacks of the good approach
There are some drawbacks to this approach:
- The setup is very Postman-specific, as the variable setup and the data files have to be created/configured in a way Postman can understand.
- Postman’s integration with source control systems is poor, since the developers must remember to pull latest, import the .json files into Postman, make their changes, then export the .json out of Postman prior to committing those changes to the repository.
- Postman is not a tool with which everyone will have familiarity, let alone be comfortable.
In part two of this three-part series, I will show you a better way to achieve a similar result, but one which is faster and easier to maintain. Check out part two (Better) now!